Mobile Flow Analyzer
iOS Connection Guide
Overview
Evinced Mobile Flow Analyzer requires Xcode installed on an Apple computer running macOS to connect to an iOS device or simulator. You will need a free or paid Apple Developer account to connect to a real device.
Mobile Flow Analyzer will work with Xcode 12.5 (released with macOS 11, “Big Sur”) or later, but the Xcode version, macOS version and iOS version need to be compatible. Check Xcode Supportopens in a new tab to find what works with what.
This guide will help you get set up.
Prepare to Connect
Get an Apple Developer account
You can connect to a real iOS device with either a free or paid Apple Developer account. A paid Individual or Organization Developer account, though, has advantages and is recommended. You do not need a developer account to connect to a Simulator.
If you do not have a Developer account, go to https://developer.apple.com/programs/enroll/opens in a new tab to begin your enrollment. Once you have verified your account with two-factor authentication, you have a free account.
Install Xcode
Go to Xcode Supportopens in a new tab for a complete list of minimum Xcode requirements and supported iOS SDKs.
You may download the latest version of Xcode using your Apple ID from the Apple App Store or, with an Apple Developer account, any previous version from developer.apple.com/download/allopens in a new tab that is compatible with the version of macOS running on your workstation.
Verify Command Line Tools for Xcode
Mobile Flow Analyzer communicates with Xcode using its Command Line Tools. Typically these are installed with Xcode. To verify, open Locations in the Settings dialog and check that a version of the Command Line Tools is selected.
double-tap or press Enter to view full-size
If not installed, search for Command Line Tools for Xcode that match your installed version of Xcode on developer.apple.com/download/allopens in a new tab, download and install. If no version matches, reinstall Xcode.
If using Simulator, install runtime
When you first launch Xcode, you may select and install any of the Simulator runtimes available with its release. You may also install them later in the Xcode Settings dialog by opening Platforms then clicking the “+” icon in the lower left corner to add a Simulator runtime.
You can verify the Simulator you need is installed by opening the Devices & Simulators panel, which is available under Window in the main menu.
Install your app on a Simulator
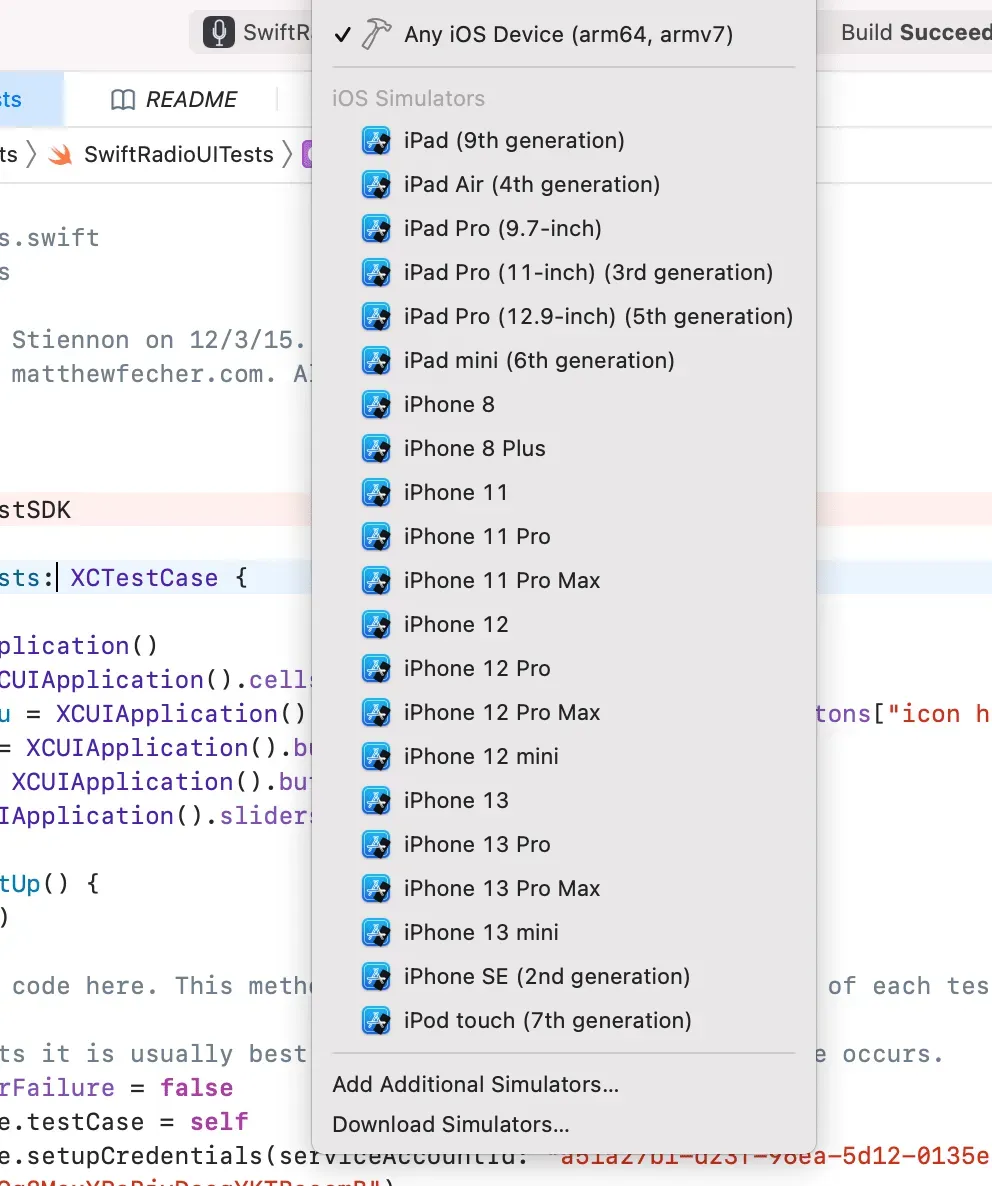
If you are testing with a simulator, you will need to install the app you are testing on the simulator. You can do that with either the app or the Xcode project file.
I have the Xcode project file
If you have access to the app’s Xcode project file, open the .xcodeproj file in Xcode and select
your preferred Simulator from the dropdown selector in the Toolbar. Build the project by clicking
the “Run” button (▶).
I have a path to the app file
If you have access to an iOS app from your workstation, you can install it on a Simulator using the Xcode Command Line Tools.
Note: Building an app in Xcode creates an app under ~/Library/Developer/Xcode/DerivedData that can be installed, such as
~/Library/Developer/Xcode/DerivedData/MyApp-bzwuxxcniveysmauhjvjcbcoyiea/Build/Products/Debug-iphonesimulator/MyApp.app
- In a terminal, run
xcrun xctrace list devicesto print a list of available devices and their UUIDs. - Boot the Simulator you want to use by running
xcrun simctl boot <UUID>. - Install the app on the simulator by running
xcrun simctl install <UUID> <path-to-app>
For example:
$ xcrun xctrace list devices
== Devices ==
Guava (BDFA3A91-C853-5B45-9C09-318148231C18)

== Devices Offline ==
Dev iPhone  (17.5.1) (00008030-001250D91139402E)

== Simulators ==
iPad (10th generation) Simulator (17.5) (1675338C-5929-4670-B8D9-491632C4BC4A)
iPad Air 11-inch (M2) Simulator (17.5) (4589C4A3-785E-4AF3-8B07-4461A727888B)
iPad Air 13-inch (M2) Simulator (17.5) (D8DB6E61-BF09-405D-B577-692E2E843AA6)
iPad Pro 11-inch (M4) Simulator (17.5) (EF009E5A-70B2-4902-AC75-6874CAAF741B)
iPad Pro 13-inch (M4) Simulator (17.5) (293C64C3-6F97-43C8-842E-F70094B722D1)
iPad mini (6th generation) Simulator (17.5) (D79DD8FA-C17F-40C0-848C-1089A35CDC1F)
iPhone 15 Simulator (17.5) (4EBCB58E-0DDB-45C5-89C8-9EEFE268C5B7)
iPhone 15 Plus Simulator (17.5) (B23FA239-C0E5-4C7C-B42A-E144A7A16DF8)
iPhone 15 Pro Simulator (17.5) (AE7386B9-683D-4B54-B968-0F141C48A7EE)
iPhone 15 Pro Max Simulator (17.5) (A596E3A7-BE76-47F1-B732-AE56BDA99A06)
iPhone SE (3rd generation) Simulator (17.5) (D52B445B-327E-45CD-94BA-D7959107E15E)

$ xcrun simctl boot D52B445B-327E-45CD-94BA-D7959107E15E
$ xcrun simctl install D52B445B-327E-45CD-94BA-D7959107E15E $path_to_app
The selected Simulator will launch and you will be able to connect to it in Mobile Flow Analyzer.
If using a real device, set up Apple trust chain
To run any app on an iOS device, the app must be signed with a certificate to verify that it has not been modified since it was signed. Mobile Flow Analyzer installs WebDriverAgentRunneropens in a new tab on the device to scan applications and requires an Apple Development certificate. To set that up, you must:
- Have the device registered in your Apple Developer account
- Have a valid Apple Development certificate—public and private keys—stored in your Mac’s Keychain.
- Have the Apple certificate’s public key added to you Apple Developer account.
- Have a development provisioning profileopens in a new tab for the device certificate installed in ~/Library/MobileDevice/Provisioning Profiles.
If the above are NOT in place and valid, you will need set them up. (There is no harm, though, in repeating the process.) In most cases, best to let Xcode do it for you by following its Signing & Capabilities workflowopens in a new tab. The details differ a bit between a free and paid developer account.
A, Add your Apple Developer account to Xcode
Note: You should add your Apple Developer account. The Apple ID set on the device can differ.
- Open the Xcode Settings dialog in the top system menu, Xcode > Settings.
- In the Settings dialog, select Accounts and click the “+” icon in the bottom left to add an account.
- Select “Apple ID” and click continue. Complete the flow by entering your Apple or Team ID and password for your Apple developer account.
double-tap or press Enter to view full-size
B, Connect device to workstation
- Connect a test iOS device to your workstation with a USB cable.
- Tap Trust This Computer on device if prompted.
- Click Trust in Finder if prompted.
C, Enable “Developer Mode” on the device
Open Settings > Privacy & Security on the device. Set the Developer Mode option to On.
Note: In iOS 16 and later, the option to enable Developer Mode is not available by default. To show the option:
-
Attach the device with a USB cable.
-
Open Xcode and, in the main menu, open Windows > Devices & Simulators.
double-tap or press Enter to view full-size
-
Select the device in the left sidebar. Xcode should show a “Waiting to reconnect...” message with instructions to enable Developer Mode on device.
double-tap or press Enter to view full-size
-
Open Settings > Privacy & Security on the device. Enable the Developer Mode option, which should now be available.
-
Restart the device and, when restarted, allow Developer Mode.
Note: Once enabled, the option for Developer Mode remains and can be toggled on and off.
D, Create or open an Xcode project that targets the device
An empty project will do. If creating a new project, use an App template targeting an iOS device.
double-tap or press Enter to view full-size
Choose an app name, select your Apple Developer Team ID and set a unique organization identifier. If using a Personal (free) account or Individual (paid) account, use an identifier unique to you. If you are enrolled as a member of an organization, use the organization’s unique identifier.
double-tap or press Enter to view full-size
E, Use the project to set up chain of trust to the device
Complete steps 1 through 5 to:
- Create a fresh Apple Developer certificate with private & public keys and place them in your Mac’s Keychain
- Add the certificate’s public key to your Apple Developer account for signing
- Add an app identifier to your account (“XC Wildcard,” if using paid account)
- Add a provisioning profile in ~/Library/MobileDevice/Provisioning Profiles
- Select the connected iOS device in the Toolbar.
- Select the project name under Targets.
- Select the “Signing & Certificates” tab.
- Check Automatically manage signing if not already checked.
- Select your Apple Developer Team ID.
Complete step 6 to register the device in your account if it is not already registered.
- Click the “Run” button (▶) to build and install the app. A pop-up will ask for permission to register the device. Accept to register.
double-tap or press Enter to view full-size
Note: With a paid account you may register the device directly in the account. Log in to your Apple Developer account and go to Certificates > IDs & Profiles > Devices and add the device (click the “+” icon). Visit register a deviceopens in a new tab for further details.
Common problems
Insufficient team member permissions
As a team member in ad Organization enrolled in the Apple Developer Program, your role must have access to Certificates, Identifiers, and Profiles and have the ability to create Apps, which are typically the case when your role is Developer. Make a request to your account administrator to set the necessary permissions.
- “Developer” role checked
- “Access to Certificates, Identifiers, and Profiles” checked
- “Create Apps” checked
double-tap or press Enter to view full-size
Connect Mobile Flow Analyzer
Once you have completed the steps in Prepare to Connect, launch Mobile Flow Analyzer, click the connect icon in the upper right corner and select “iOS.” Mobile Flow Analyzer will then guide you through a four step process to connect to an iOS device or Simulator.
double-tap or press Enter to view full-size
Step 1: Verify Xcode installation
Xcode, Command Line Tools and Simulator runtime should be installed as described in [Prepare to Connect]. If verified, click Continue to go to step 2.
double-tap or press Enter to view full-size
Common Problems
Xcode is installed but Mobile Flow Analyzer says it is not
If you are using Homebrewopens in a new tab, you may have a different version of the Command Line Tools installed in
/Library/Developer/CommandLineTools.
-
Execute
xcode-select -pin a terminal to print the path to the active developer directory. Is the path something other than the Xcode.app Developer folder,/Applications/Xcode.app/Contents/Developer? -
Verify that Xcode.app is installed in /Applications and set the default location for the Xcode build tools by executing
xcode-selectas a superuser in a terminal:sudo xcode-select --switch /Applications/Xcode.app/Contents/Developer
Step 2: Choose your device type
Select Real device or Simulator to continue. Steps 3 and 4 depend on your choice.
double-tap or press Enter to view full-size
Connect Simulator
Complete the steps in Prepare to Connect and Connect Mobile Flow Analyzer, then . . .
Step 3 (Simulator): Choose your device model
Select the connected device from the “Your device” dropdown Use the dropdown to select one of the iOS simulators available in your XCode installation, the click Connect to continue to step 4.
double-tap or press Enter to view full-size
Common Problems
No Simulator listed
Is the iOS platform installed? Open Platforms panel in Xcode Settings. If the iOS entry displays a Get button, click it to get the runtime for the iOS version supported by your installed version of Xcode.
Target Simulator is not in the list
Visit “Installing and managing Simulator runtimesopens in a new tab” on developer.apple.com to find which devices are supported an how to add their runtimes.
Step 4 (Simulator): Connecting Simulator
Mobile Flow Analyzer starts Xcode Simulator with the selected device runtime and shows its progress as the simulator starts up and Mobile Flow Analyzer installs, launches, and connects to a WebDriver agent that it will use when scanning for accessibility issues.
double-tap or press Enter to view full-size
Connecting to an iOS Simulator will take a minute or more and, in most cases, successfully connects. If connection does fail, refer to “Connection failure” in the Troubleshooting section.
Connect Real Device
Complete the steps in Prepare to Connect and Connect Mobile Flow Analyzer, then . . .
Step 3 (Real device): Choose your device . . .
The device must be connect to your workstation with a USB cable to connect.
Select the connected device from the “Your device” dropdown and team ID from the “Apple Developer Team ID” dropdown, then click Connect.
double-tap or press Enter to view full-size
Common Problems
Device not available
- Is device listed in Xcode? Check Window > Devices & Simulators in Xcode main menu.
- If paid account, is device registered in account?
- Are Command Line Tools installed properly? Execute the terminal command
xcrun xctrace list devicesto verify.
Apple Developer Team ID not available
A certificate chain of trust must be correctly set up for your Apple Developer Team ID so that Mobile Flow Analyzer can install and control the WebDriverAgentRunneropens in a new tab on the device.
-
Has the account been added to Xcode? Check Accounts in Xcode settings.
-
Is there an active signing certificate for your Apple Developer Team ID? Open Manage Certificates to check.
-
Is there a development provisioning profileopens in a new tab for WebDriverAgentRunneropens in a new tab installed in ~/Library/MobileDevice/Provisioning Profiles that has expired? You may inspect a mobile provision file to check the team-identifier and ExpirationDate by searching for the following strings:
<key>com.apple.developer.team-identifier</key>
<string>********</string>
...
<key>ExpirationDate</key>
<date>2024-08-27T22:42:01Z</date>
All checks out, but device or team ID are not listed
Repeat the process outlined in Prepare to Connect sections D, Create or open an Xcode project that targets the device and E, Use the project to set up chain of trust to the device.
Step 4 (Real device): Connecting device
Mobile Flow Analyzer displays its progress as it installs WebDriverAgentRunneropens in a new tab and request connecting to the device. It may take a few minutes to connect.
While installing WebDriverAgentRunner, if permission was not previously granted, macOS will ask your permission to access your Keychain to sign the app with your developer certificate. You may check Always Allow.
double-tap or press Enter to view full-size
Paid Apple Developer account?
The device should connect with no further interaction.
Free Apple Developer account?
If using a free Apple developer account and WebDriverAgentRunner was not previously installed or is expired, you will be prompted to trust its installation.
- Open Settings > General > VPN & Device Management on the device and be prepared to trust the connection.
double-tap or press Enter to view full-size
- If WebDriverAgent needs to be installed, a new “developer app” control will appear in VPN & Device Management settings during the connection process. Tap it to open its options, then tap Trust “Apple Development...”. A confirmation dialog will open. Tap Trust to permit the connection.
double-tap or press Enter to view full-size
- Your device may prompt you to trust
xctrace. Do so.
Common Problems
Set up is not quite right
Check the following, then try again:
- Device selected in step 3 is connected with USB cable and unlocked.
- Apple Developer Team ID selected in step 3 is active in Xcode.
Did not “trust” WebDriverAgentRunner installation in device VPN & Device Management correctly.
It’s easy to miss a step. Try again.
Cannot connect after updating Xcode
After updating Xcode on your workstation, connect a device and open an Xcode project that targets it as outlined in step E, Use the project to set up chain of trust to the device to update the trust chain. You do not need to build the project.
Cannot reconnect with a free developer account
With a free account, the provisioning profile set up in step E, Use the project to set up chain of trust to the device expires after 7 days. Connect a device, open a project in Xcode and repeat steps 1 through 5 to refresh the provisioning profile. You might need to build the project.
Troubleshooting
Connection failure
Mobile Flow Analyzer uses xcodebuild to install WebDriverAgentRunner on the device, and that is a
complex process that can fail if things are not as xcodebuild expects. If you are testing with
several devices or with more than one Apple Developer Team ID, the chance of a failure are greater.
Certificates, devices, and developer app identifiers are stored in your Apple Developer account whether it is a free or paid account, and an inconsistency with the data stored there could present a problem. The data stored in your account is created automatically as you operate Xcode, and with a paid account, you can create and manage that data directly.
You may be able to resolve errors by taking the following actions:
Clear Xcode derived data by:
- Close Xcode if it is open.
- Remove the contents of the folder ~/Library/Developer/Xcode/DerivedData/.
- Relaunch Xcode.
- Open a project and reset chain of trust as outlined in Prepare to Connect section E, Use the project to set up chain of trust to the device.
Follow section Prepare to Connect but directly build the WebDriverAgentRunner
Rather than open a project as outlined in D. Create or open an Xcode project targeting the device, open the WebDriverAgent project that is stored inside the Evinced Mobile Flow Analyzer app.
- Open the Applications folder in Finder and right-click (Ctrl-click) on Evinced Mobile Flow Analyzer, then select “Show Package Contents.” double-tap or press Enter to view full-size
- Open the folder Contents > node_modules > appium-webdriveragent to find WebDriverAgent.xcodeproj.
- Open WebDriverAgent.xcodeproj in Xcode.
- Select your device and Team as outlined in Prepare to Connect with “Automatically manage signing” checked for IntegrationApp and WebDriverAgentRunner.
- Change the “facebook” organization id to your unique id for IntegrationApp and WebDriverAgentRunner.
- Build the IntegrationApp by clicking play to install it on the device. You will be prompted to trust as outlined in Prepare to Connect section E, Use the project to set up chain of trust to the device.
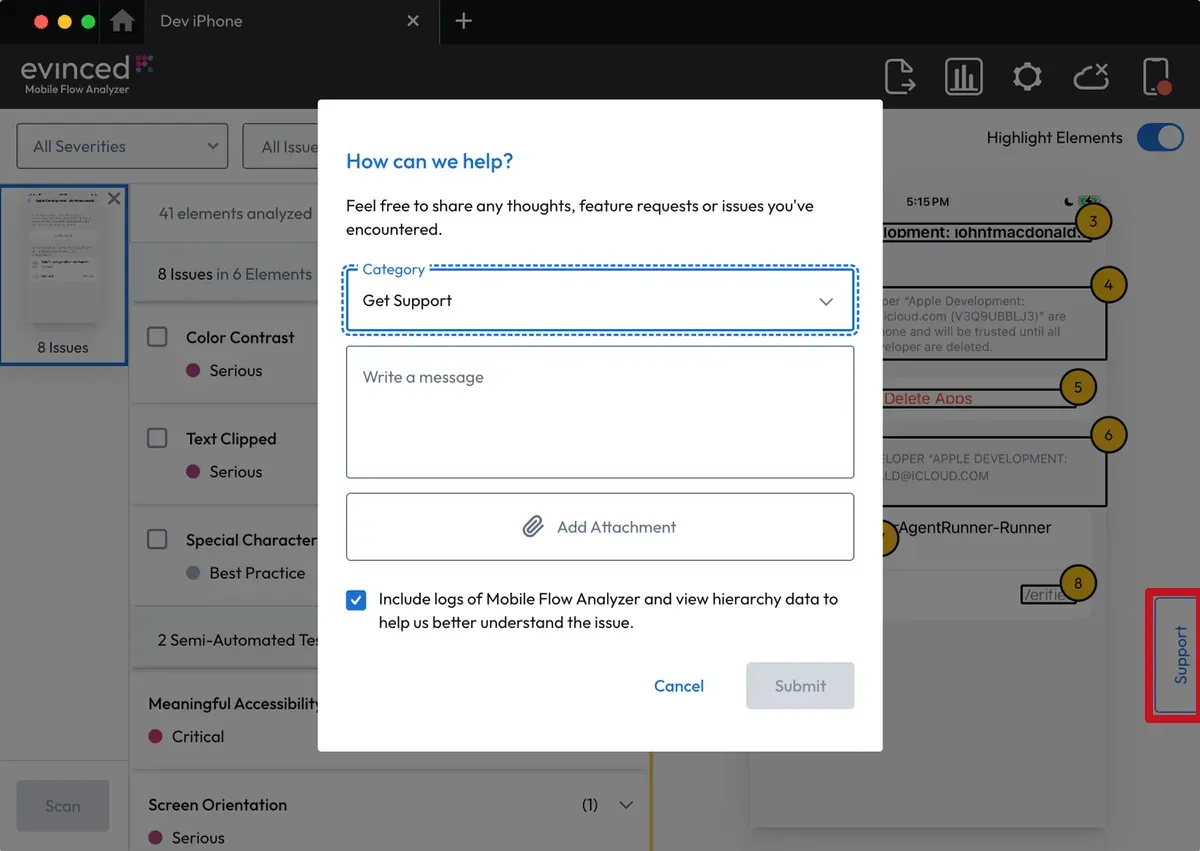
Contact support
Contact Evinced Support to get help in finding a solution. Click the Support button on the right side of a session screen to start a message. Check “Include logs...” if not already checked before sending.
Top find the log files directly, go to Help in the Mobile Flow Analyzer main menu and select “Show log files in Finder.” Open the log file “evinced-prod.log.” The file logs each session with timestamps.
double-tap or press Enter to view full-size
I need to use the same VPN connection as my workstation
You can share the Mac workstations’s internet connection with the device via USB.
- Connect the device to the workstation with a USB cable.
- In macOS System settings, search for Sharing and find Internet Sharing.
- Enable Internet Sharing with iPhone USB selected.
Scan
A “Start scanning” screen will be shown when the connection is established with the instruction to “open your app in the connected device and hit the ‘Scan’ button to run an accessibility analysis of the screen in view.
double-tap or press Enter to view full-size
Congratulations! You are now connected and can begin testing.